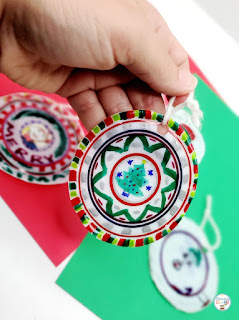
Year after year I search for new ideas I can use in my classroom for Christmas gifts to the parents. I basically narrow down ideas by 3 items: simple, cheap and cute. Simple because we are talking about kids here and we still have standards to cover. Cheap because well….. hello, we are teachers and have 20-30 kids in a class. And cute because why would you want to put time into something you don’t enjoy???? I stumbled across these melted ornaments and I am in L-O-V-E! This will probably be my go-to activity every year now because it checks off all those boxes! I need to add this to my EASY Christmas Ideas that Parents Will LOVE file.
Supplies for Melted Plastic Cup Ornaments
These supplies fall into the “simple and cheap” category.
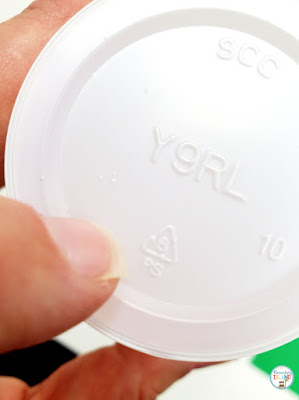
- Plastic Cups (7 oz preferably) – You will need to look for ones that have the recycle number 6 at the bottom. It took me a while to find these cups, but now that I have, I will spare you all the searching I did which will save you time! Go directly to any cheap dollar store. Seriously. Don’t look for name brands. Your local Dollar Tree, or Dollar General should have these.
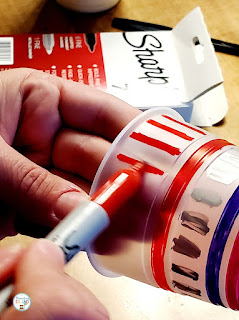
- Sharpies or other permanent markers
- Cookie Sheet
- Foil or Parchment Paper
- Ribbon or Yarn
- Hole Punch
- Oven
- Spatula
How To Melt Cups into Ornaments: Step-by-Step Instructions
Step 1: Prep
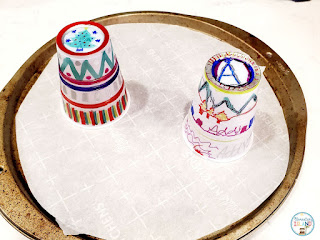
Preheat your oven to 350°. Cover your cookie sheet with foil or parchment paper and have your non-stick spatula ready to go.
Step 2: Design your Ornament
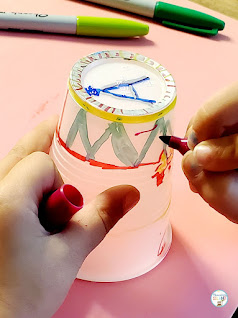
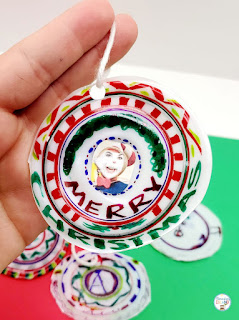
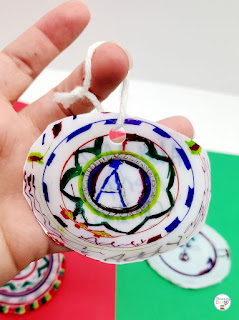
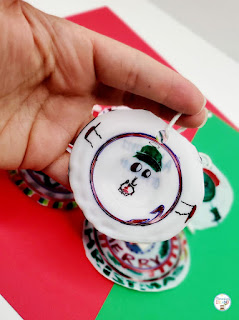
Take the time to decorate your ornament as nicely as possible! It’s amazing how these melted cups show all the colored designs when they turn into flat ornaments – even writing can be seen! You may want students to add their names or the year somewhere in their design.
Step 3: Melt the Ornament
Place your plastic cup ornament open side down on your cookie sheet and place in oven. These will start to melt almost immediately! Our ornaments took about 30-45 seconds total. When they look to be almost flat, I open the door, take my spatula and flatten it down all the way before pulling them out of the oven.
Step 4: Cool Down
It literally takes about 10 seconds before you can touch them, but be careful, the pan is still HOT.
Step 5: Add the Extras!
Depending on how messy you want to get, you can let the students add glitter. They can also add their name and year to the back of the ornament for that parent keepsake.
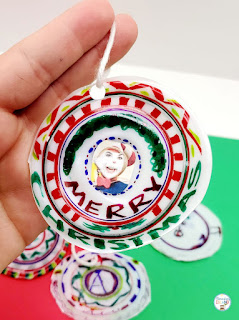
These are also perfect items to add those student photos (that you never know what to do with) to the center of the ornament. However, if your intention is to add the photo, I would let the students know ahead of time so that they are not mad if you cover their center design. Or better yet, these are so cheap and easy, you can have them make TWO!
Fake student added! Haha! 😉
Step 6: Turn into an Ornament
Use a hand held punch or a 3-ring punch to add that circle. Make sure the ornament is pushed all the way back to get an entire hole for the yarn to go through.
That’s it! Simple, cheap and BEAUTIFUL! These plastic cup ornaments will surely be a hit with parents and an ornament that will make its way onto the tree for years to come!
Looking for other Christmas activities to excite your students during the month of December? Look for these other blog posts:
TROUBLESHOOTING TIPS AND QUESTIONS
My ornaments curled up some. What do I do?
This happened to some of ours. Luckily a good cut with a sharp pair of scissors will do the trick!
Can I use bigger size cups?
Well you can, but they won’t turn out as pretty. The 16 oz cups are known to curl up more, so I would recommend not going over 9 oz. Plus, you don’t want a HUGE ornament on your tree!
Do I need to use sharpies?
While you do not need to use the brand Sharpie, you will need to use some type of permanent marker. Remember, you are drawing on plastic. If the markers are not permanent, you will smear your drawings. Even with the Sharpies, we needed to take a little time in between drawing for the marker to dry.
Does it really melt in under one minute?
Yes, it actually does! So don’t walk away and make sure you turn the light on to see the melting! It really is very cool. Of course, all ovens are different, but if set at 350, it should take less than a minute.
Do I need to flatten them with a spatula?
This is just an option. If you like them bubbly looking, then don’t flatten. It’s all personal preference.
Did you melt all your students’ ornaments at home?
Yes, I did. But I took video of all the ornaments as they melted. I was able to fit about 9 on the cookie sheet at a time. If you are lucky enough to use the ovens at school, that is also an option!
Can I use a microwave?
No, a microwave will not work to melt this type of plastic quickly and cleanly.


